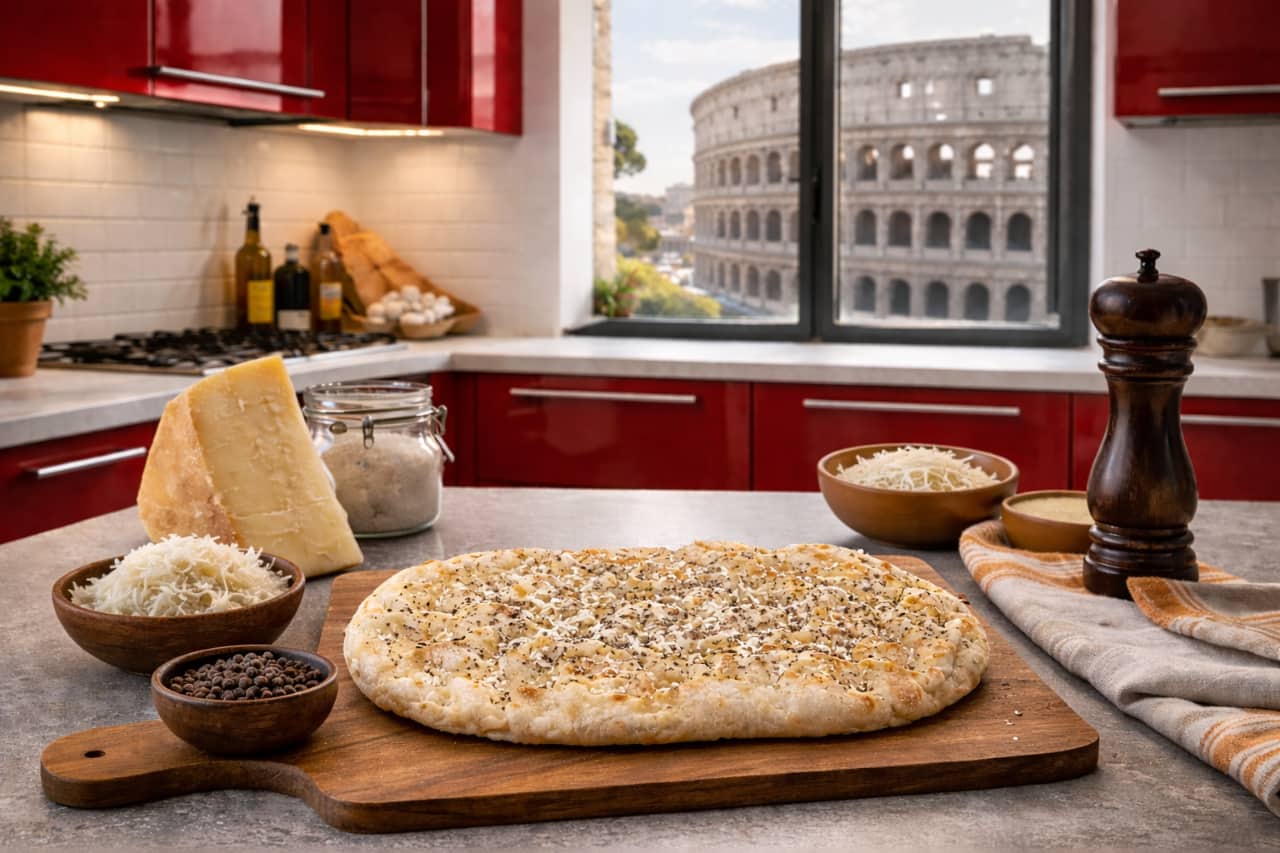
Baking Pinsa is really easy: just a few minutes are enough to bring to the table a dish faithful to Corrado Di Marco’s original idea.
You don’t even have to use an oven: a pan, air fryer, or grill pan all work perfectly, as long as you know how to use them. If you want a practical guide on what to do and how to do it, start here.
Baking Pinsa is simple, but precisely for this reason it’s easy to make a few mistakes. Over the years we’ve seen many of them—perhaps too many—and that’s why we’ve collected some useful tips to help you avoid them.
Putting the Pinsa in a Cold Oven
This is one of the most common mistakes, because the mix of hunger and hurry can be devastating. True?
Pinsa needs to start at the right temperature. We do it this way: a well-heated oven before baking, so excess moisture evaporates quickly, the base dries properly, and becomes crispy on the outside while staying light inside.
If the oven is cold or just lukewarm, the water evaporates slowly, the Pinsa warms without structuring properly, and the result is a less fragrant base that feels softer when bitten.
Setting the Wrong Oven Temperature
We state it clearly on the packaging: high temperature (240–250 °C) and a short baking time, usually around 5 minutes. Of course, the time may vary depending on the toppings: a plain base or simple ingredients will be ready sooner, while richer or moister toppings may require an extra minute.
When it comes to temperature, we often see people “interpreting” this instruction, thinking that baking at a lower temperature for longer gives the same result.
It’s not a disaster, of course: the Pinsa will still be edible. But not at its best.
If you can, do this: follow the recommended temperature, because high heat allows moisture to evaporate quickly, creating the structure and crispness you expect from our Pinsa Romana.
Cooking it longer at a lower temperature causes moisture to evaporate slowly: the base tends to dry out without becoming truly crispy. It’s a subtle difference, but you can feel it when you bite.
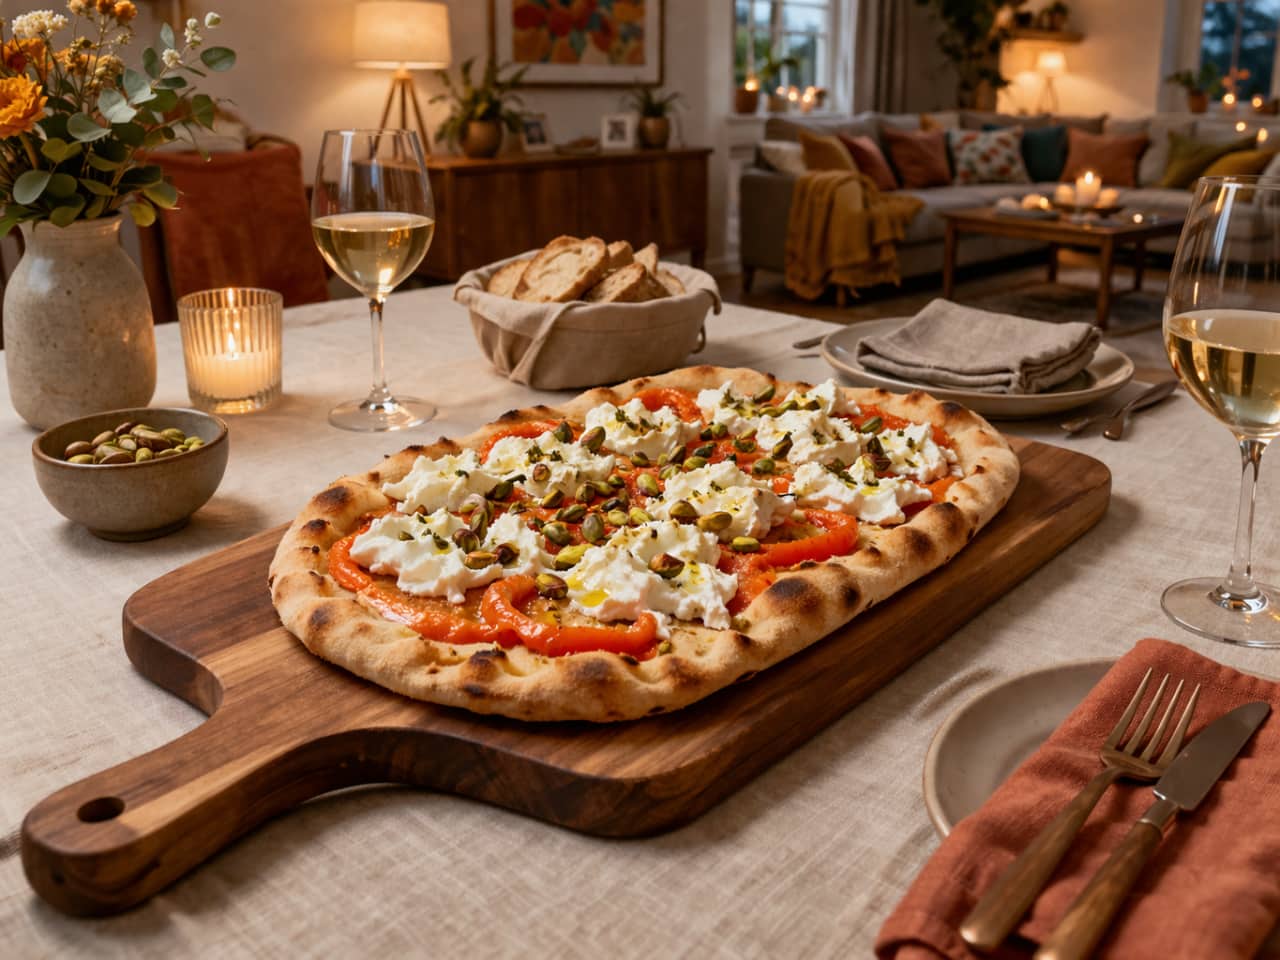
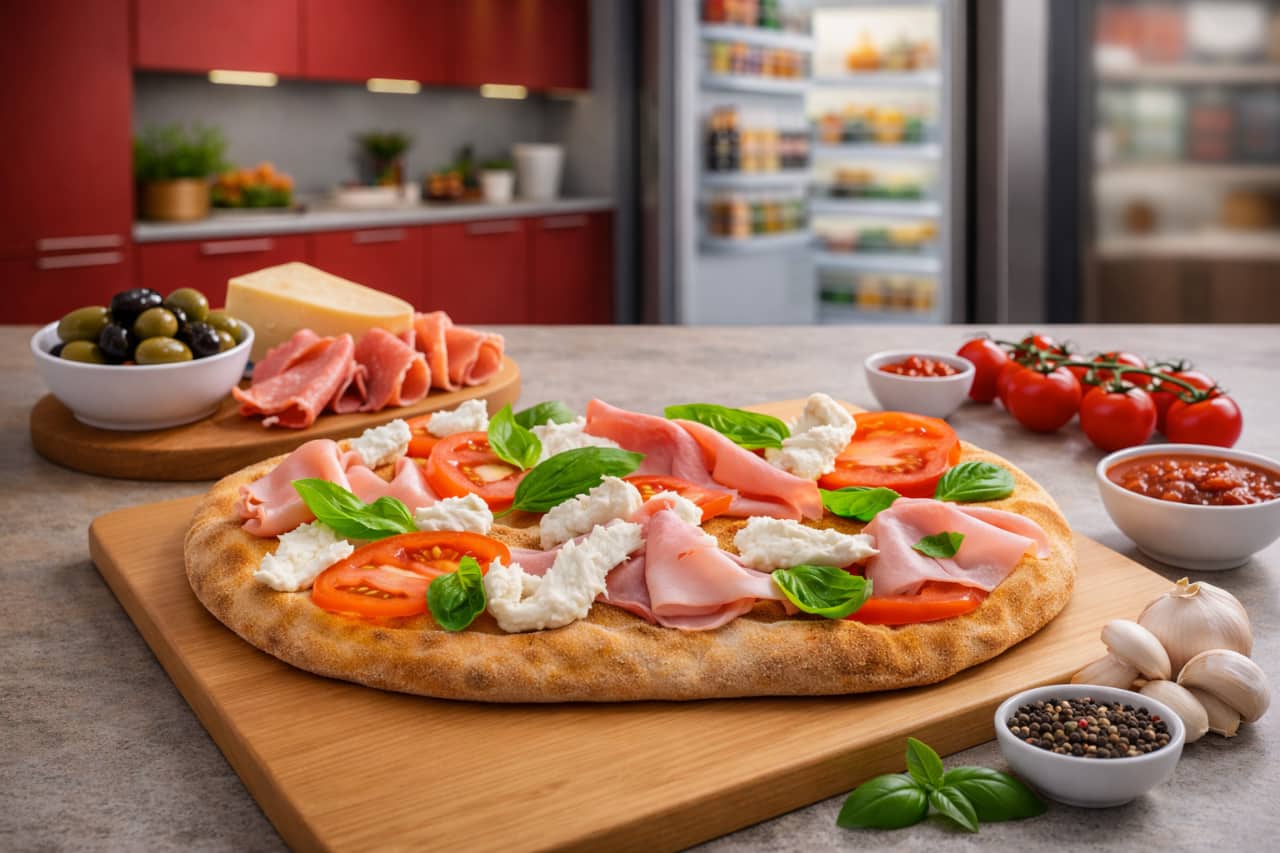
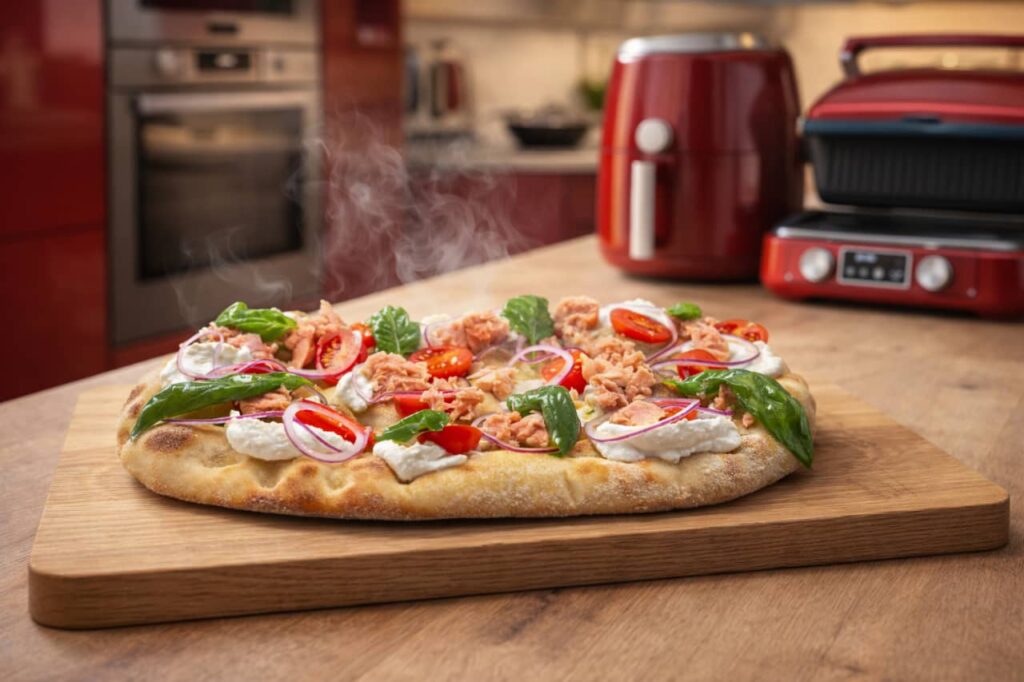
Adding All the Toppings at Once
Here enthusiasm can play tricks on you. You season the Pinsa, put everything on top, and bake it. Convenient, of course—but not always the best choice.
Always distinguish between ingredients that need cooking and those that are better added fresh. Tomato and mozzarella can go in the oven; cured meats, delicate cheeses, and fresh vegetables are better added afterward.
Adding everything at once releases more moisture than necessary, weighs down the Pinsa, and masks flavors. With one extra step, the result is more balanced—and definitely tastier.
Always Using a Baking Tray, Even When You Have a Rack
A tray is convenient, but not the best option. When baking Pinsa this way, heat struggles to reach the bottom and the base tends to stay softer, unless you’re using a baking stone—then it’s a different story.
If you can, use a rack: hot air circulates better and Pinsa cooks more evenly, becoming crispier underneath as well. If you only have a tray, no problem: leave it in the oven while it preheats so it’s already hot when you place the Pinsa on it, helping it cook properly.
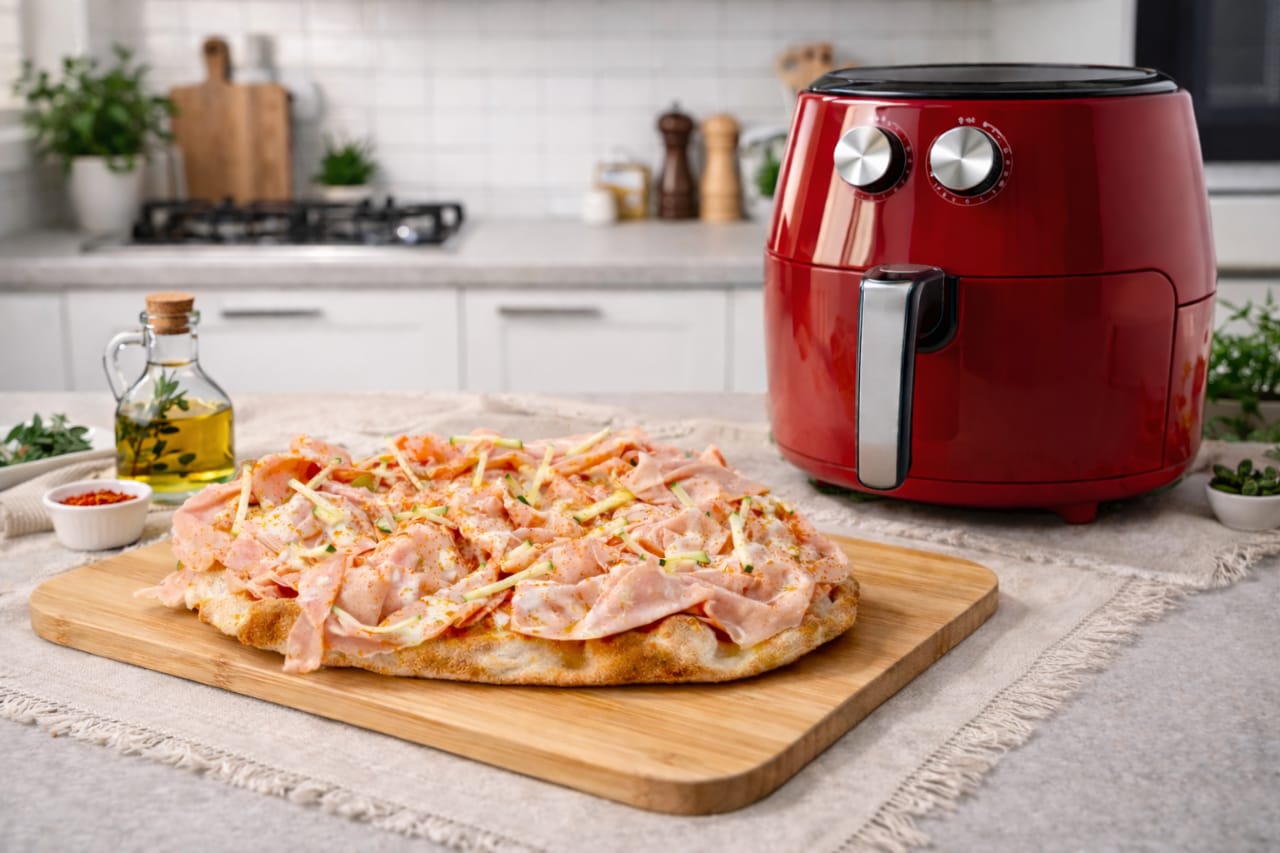
Turning the Heat Too High When Cooking in a Pan
When it’s hot outside, turning on the oven isn’t always appealing. So you switch to a pan—but the temptation to speed things up can lead to burning the bottom.
Better to use medium heat and take a couple of extra minutes. This way, the base becomes crispy without burning, and the heat reaches the toppings as well. It’s a simple balance, but it completely changes the final result.
Cooking It Frozen Without Adjusting the Time
You’re hungry, the Pinsa is in the freezer, and the temptation is clear: straight into the oven, frozen.
Can you do it? Yes—but not with the same timing.
If you start from frozen, the classic 5 minutes won’t be enough. You’ll usually need about 2 minutes more, just enough time to thaw and regain its fragrance.
How do you know when it’s ready? Look and touch: the base should be hot and dry, especially underneath. If the bottom is still pale or soft, leave it in a little longer. It’s better to check one minute more than to take it out too early.
Few Mistakes, Great Results
Pinsa Di Marco is easy to bake, and that’s part of its success. Avoiding a few common beginner mistakes is enough to really bring out its qualities, regardless of the cooking method you choose.
A little extra attention to details—time, temperature, and toppings—and it becomes clear why Pinsa Romana works so well at home too.