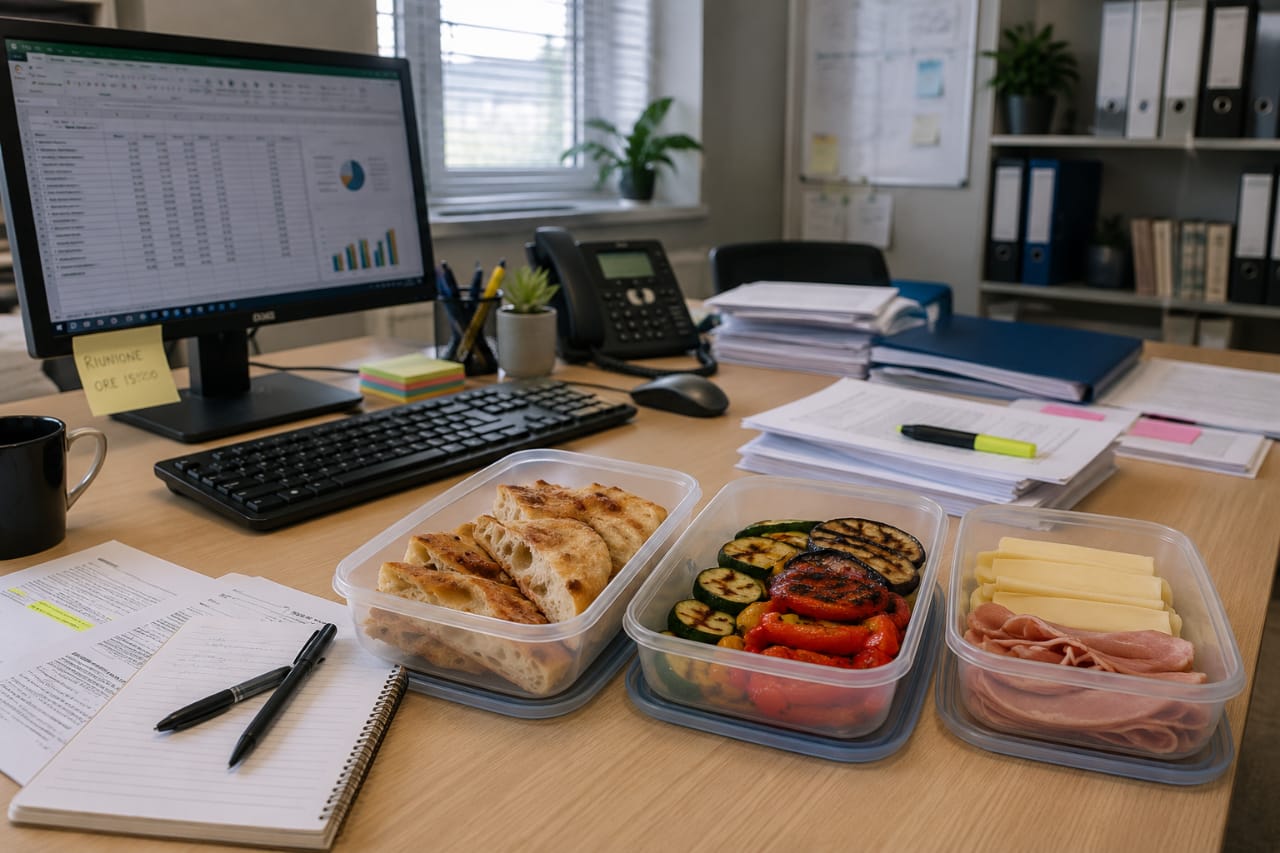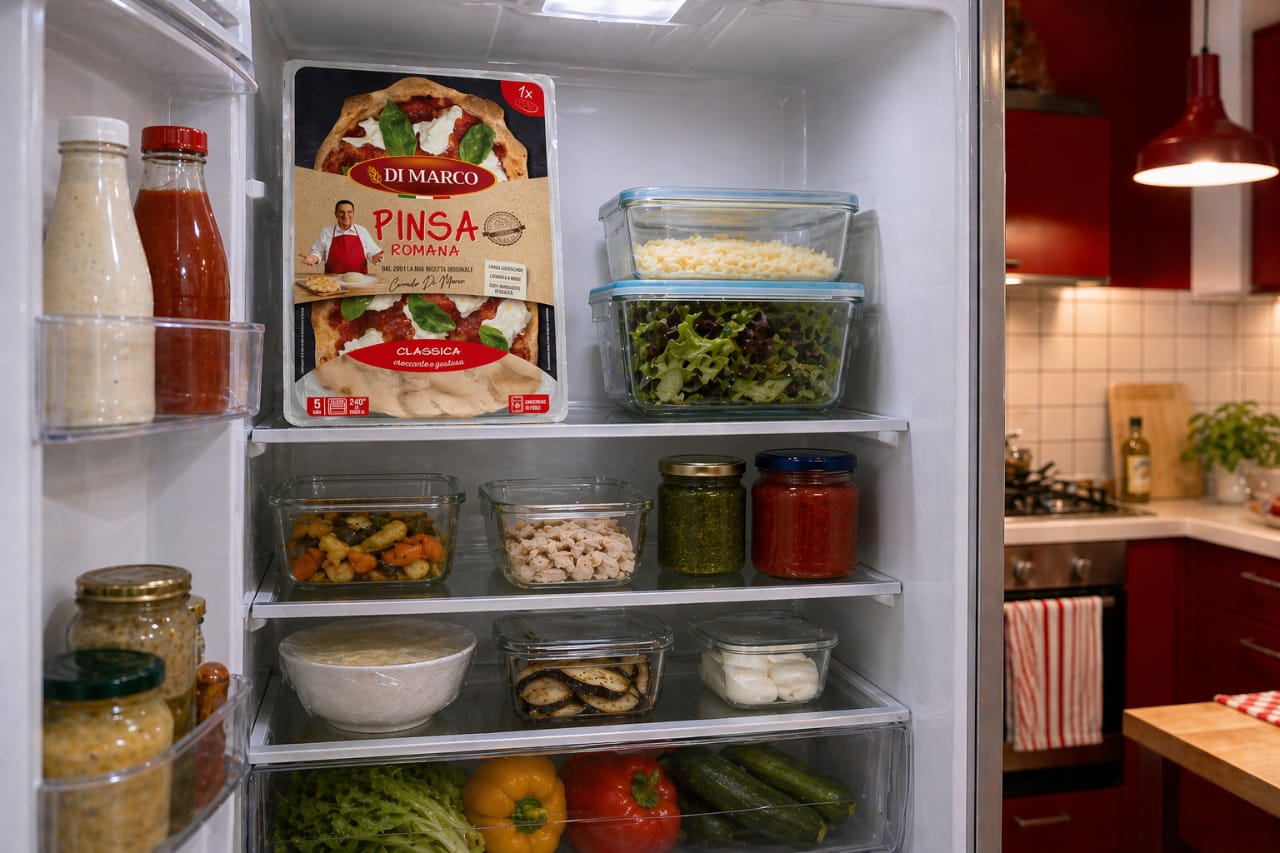
We’ve often highlighted how the speed of preparation is one of the key strengths of pinsa: you simply buy a base – fresh or frozen for longer shelf life – and just a few minutes in a high-temperature oven (or even in the air fryer) are enough to bring it to life at home.
The artisanal quality of our bases guarantees a fragrant, flavorful result that fully embodies what made pinsa a global favorite.
So why even bother with a pinsa recipe? What’s the point of making it from scratch at home when it’s so easy to enjoy in ready-to-bake form?
Pinsa recipe: why a homemade pinsa is worth the effort
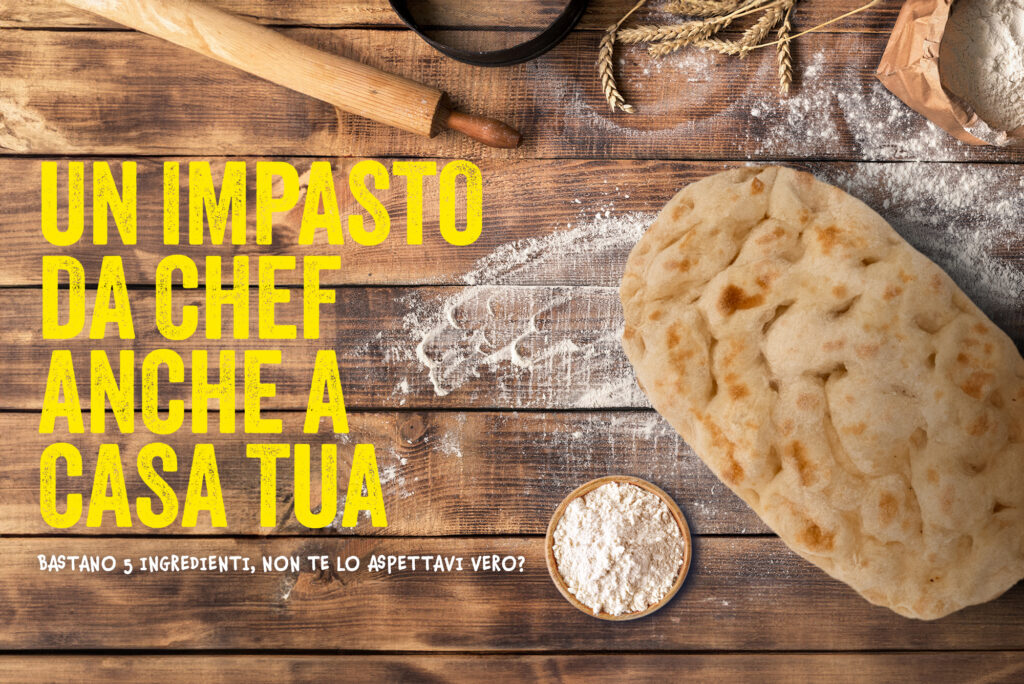
There’s no doubt: if you’re short on time, high-quality precooked pinsa bases are a fantastic solution. They’re quick, convenient, and – when made with care – still deliver that signature lightness and crispiness. But for those who love getting their hands in the dough and want to elevate the experience even further, starting from scratch with an authentic pinsa recipe is more than just a culinary exercise. It’s a rewarding choice.
Making pinsa at home gives you full control over ingredients – starting with the flour blend. And here, there’s little room for compromise: what sets pinsa apart from pizza is precisely its unique mix of wheat, rice, and soy flours. This trio is what gives the dough its light structure, digestibility, and unmistakable texture. You can, of course, fine-tune the proportions to better suit your taste, but abandoning this foundation would mean straying from what pinsa truly is.
Beyond flours, you can experiment with hydration, fermentation times, and even different types of yeast. It’s an opportunity to create a dough that reflects your preferences, while still respecting the core identity of pinsa.
So yes, ready-made options are excellent. But when you have the time and the curiosity, embracing the original pinsa recipe and making it from scratch is not just a process. It’s a pleasure.
It all begins with the pinsa dough
Everything begins with the dough. The softness inside, the crunch on the outside, the digestibility, and even the flavor—all of it hinges on getting the pinsa dough right. You can craft the most creative topping combinations, but without a well-made base, it’s not truly pinsa.
That’s why the dough deserves a spotlight of its own. It’s the result of precise flour selection, long fermentation, and hydration techniques that define the product’s character. Ignoring this means overlooking the very soul of the dish—and all the craftsmanship behind its success.
If you want to honor the pinsa recipe, you start here.
What is pinsa dough
When we talk about pinsa romana dough, we are referring to the mixture of the essential ingredients of pinsa: flour, water, sourdough, salt and a drizzle of extra-virgin olive oil. All this, with the addition of a distinctive element: the long, slow rising process. The dough is what gives pinsa its unique structure, but also its sensory and nutritional characteristics.
Pinsa romana dough: the secret behind its unique flavor
The texture of the final product is strongly influenced by the type of flour used and the rising time. A good dough gives the pinsa a special texture, which is both soft (inside) and crispy (outside). The softness comes from the type of flour, but more importantly from the correct hydration of the dough, which is higher than that of traditional pizza. Crispiness, on the other hand, comes from baking at high temperatures and, again, from the flours used.
Every ingredient in pinsa contributes to the flavour of the product. Flours play a primary role, but extra virgin olive oil also matters, as does the yeast, which can develop complex aromas that contribute to the depth of flavour. The recipe can also be integrated to make room for other ingredients that, inevitably, also have an impact on taste: for example, the introduction of multigrain mixes can add variety of flavours and textures at the same time, with (in the case of Pinsa Di Marco) oat, rye, malt, barley flours, and pumpkin, sunflower, and flax seeds.
Why is pinsa dough different?
Pinsa dough is what makes it stand out from baked goods such as pizza or focaccia. The base is the well-known flour mix that includes (in secret proportions to preserve authenticity) wheat, rice and soy, contributing to greater digestibility and lower calorie intake than similar dishes.
Moreover, the leavening of pinsa is very long, often between 48 and 72 hours, which further contributes to the excellent balance between lightness and digestibility. For leavening, dried wheat sourdough, a natural leavening agent obtained by fermenting wheat flour and water and then dried to increase shelf life, is used in Di Marco products.
Authentic pinsa romana recipe: step by step guide to making it at home
Making your own pinsa from scratch may sound like a challenge, but in reality, it’s a process within everyone’s reach. All it takes is a bit of passion, some patience, and the willingness to follow a few essential steps. Here’s how to do it right.
Start with the flour blend
In a large bowl, combine your flours following the classic pinsa ratio: wheat, rice, and soy. Add about 2 to 3 grams of dry yeast per kilogram of flour.
Add cold water gradually
Pour in 80% of your cold water (ideally just above 0°C), keeping the remaining 20% aside. Using ice water helps slow fermentation and promotes a well-developed gluten mesh.
Knead with care
Begin kneading the dough by hand, folding and pressing repeatedly. The dough should become elastic, smooth, and slightly sticky after 10–15 minutes of work.
Incorporate the rest
Add 20 grams of salt, 20 grams of extra virgin olive oil, and the remaining water. Mix thoroughly until fully absorbed and the dough is soft and cohesive.
Let it rise slowly
Transfer the dough into a container, cover with plastic wrap, and refrigerate. Cold fermentation should last from 24 to 72 hours, depending on your schedule and desired flavor complexity.
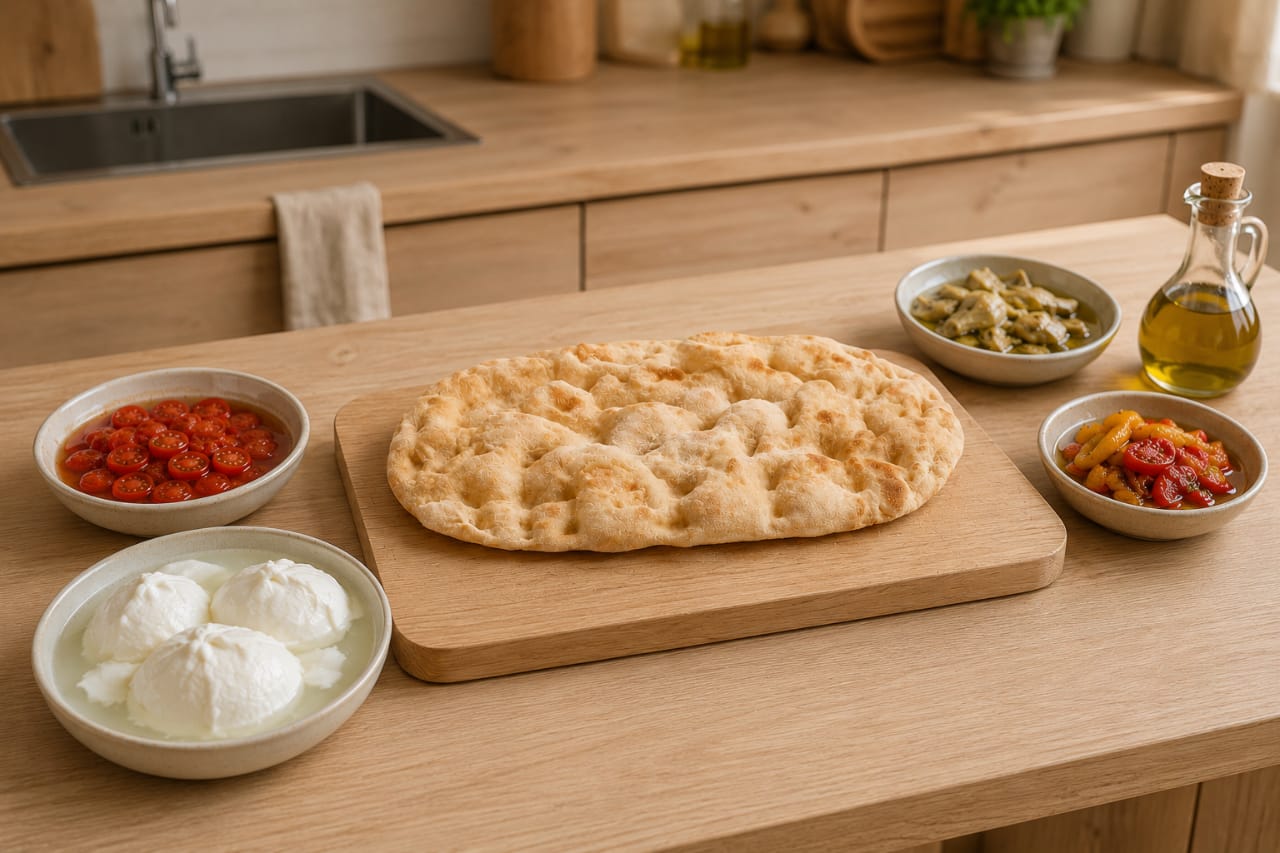
Shape your pinsa
Divide the dough into portions and shape them using gentle hand pressure—traditionally done with the “pinsatura” technique to stretch it into its typical oval form.
Bake with creativity
Preheat your oven to its maximum (usually 250°C) and use a baking stone or an upside-down tray for better heat distribution. Cook for 4–5 minutes before adding your toppings and finishing the bake.
Timing matters: rest, rise, and bake
Making pinsa at home isn’t a matter of hours, but of planning ahead. While the hands-on work might take less than an hour, the real magic happens during resting and fermentation. Once your dough is kneaded, it needs to rest in the fridge for at least 24 hours, though many enthusiasts stretch it to 48 or even 72 hours for deeper flavor and better digestibility. Once shaped, let the dough come back to room temperature for about 2 hours before baking.
In short, pinsa rewards your patience. It’s not about speed, but respecting time to let the dough evolve, breathe, and become what it’s meant to be.
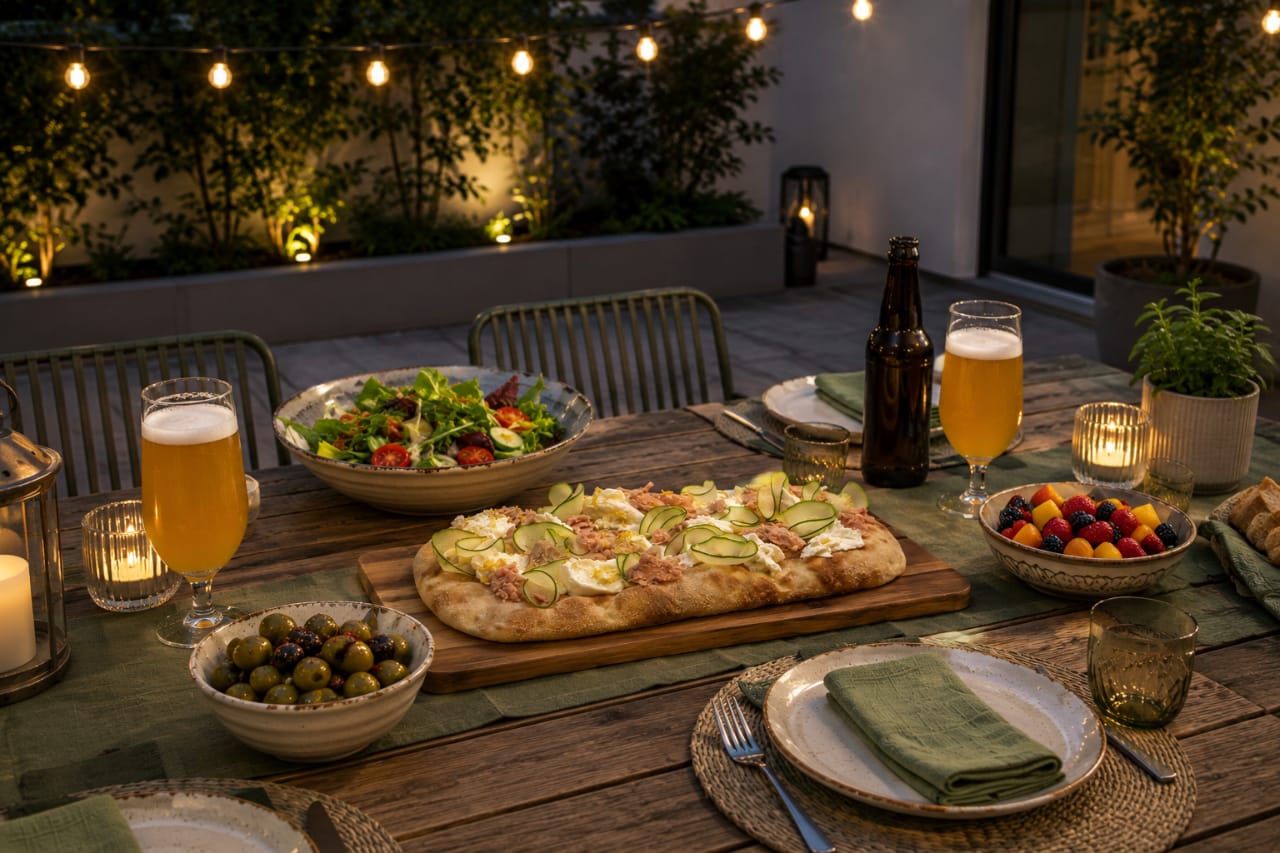
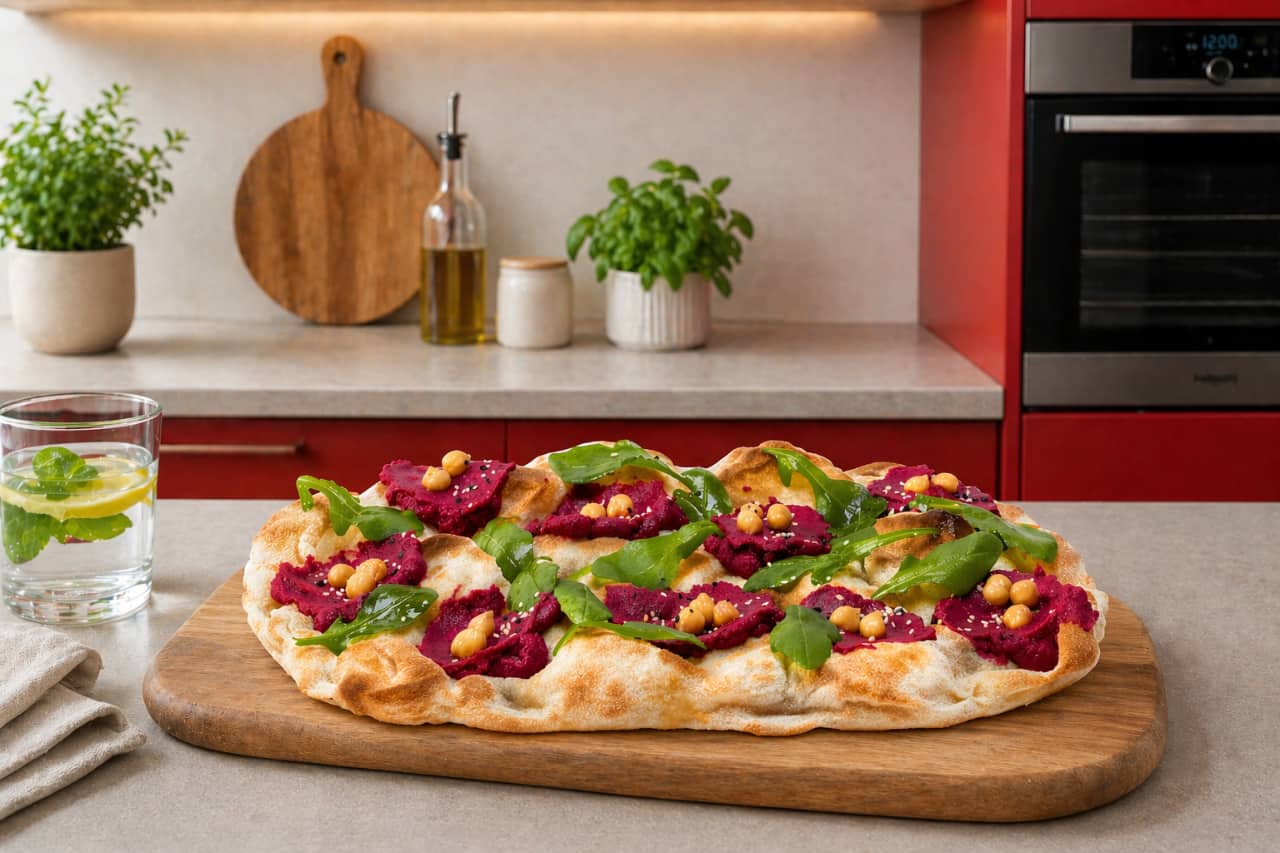
As for pinsa toppings, that’s a whole other world. From traditional pairings to bold, gourmet ideas, we’ve dedicated separate articles to help you choose the perfect combinations and finish your homemade pinsa in style.